
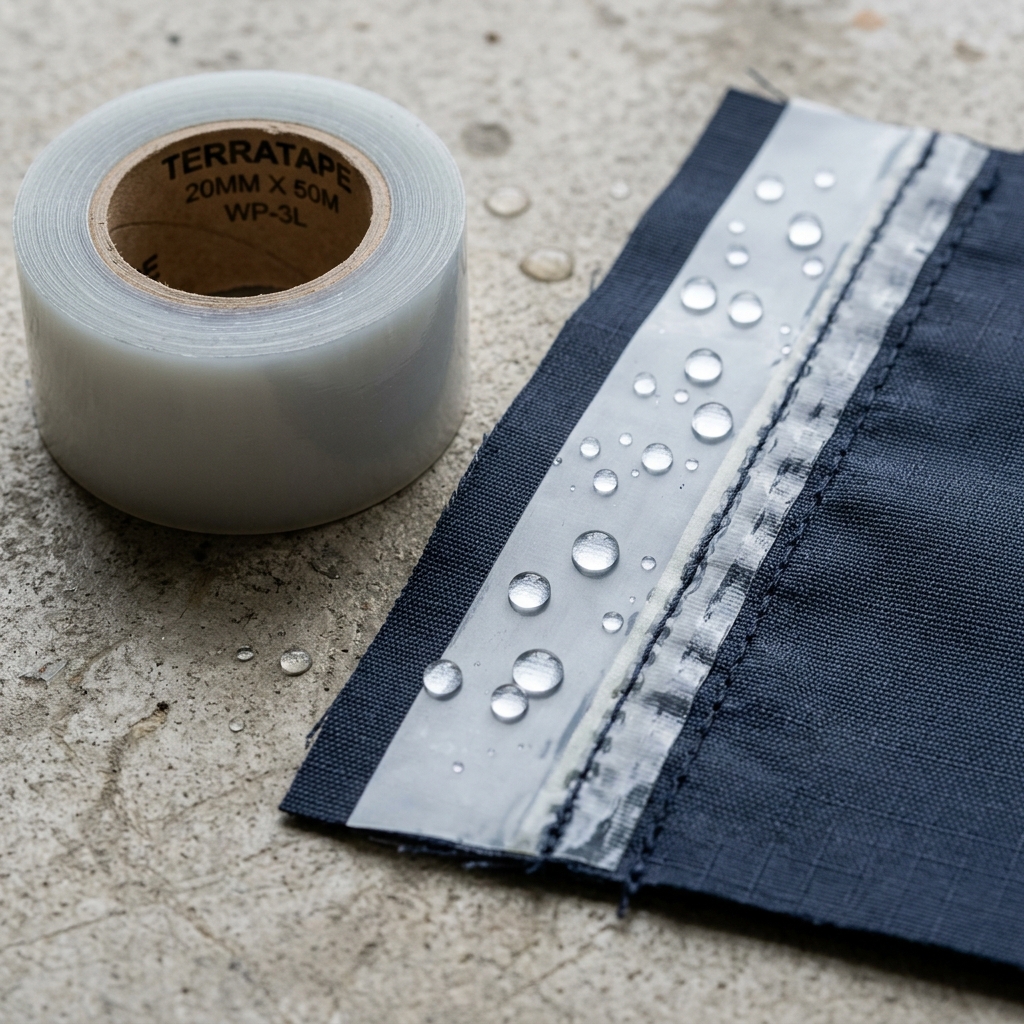
Start with the seam application
Seam tape is one element in a footwear construction. It may cover stitching or another joint to help manage water ingress, but the finished result also depends on the upper materials, seam design, stitch holes, overlap, component geometry, tape width and application process. A roll of tape cannot prove that a finished shoe is waterproof.
Describe the construction before asking for a tape recommendation. Identify the upper layers, coating or membrane, substrate thickness, seam type, stitch pattern, curvature and location on the shoe. Include whether the tape is applied over a straight seam, curved panel, gusset or joint with multiple layer changes. The edge, toe and heel zones may have different flex, pressure and abrasion exposure from a flat sample panel.
Define the intended claim and test object. Are you evaluating the tape material, a bonded fabric seam coupon, a bootie assembly or a finished shoe? Those are different levels of evidence. Agree who owns each test and what the buyer will accept before the supplier makes a material recommendation.
Compare tape constructions
Common footwear seam tapes may use thermoplastic adhesive layers designed to bond to selected textile, coated fabric or membrane surfaces. Construction names are not enough to determine compatibility. Request a material description, layer structure, width and thickness range, recommended application window and any documented restrictions on substrates or use conditions.
Ask the supplier to identify the side that bonds to the target upper and how the backing or carrier should be oriented. Confirm color, opacity, surface texture and whether the tape can follow the intended seam radius without wrinkling or lifting. If appearance matters, include the exposed edge, gloss, color and print or logo requirements in the approved sample.
Check the material stack as a whole. A membrane, water-repellent finish, dye, coating, contamination or surface treatment can affect bonding. Stretch and recovery of knit uppers can differ from woven or coated materials. A tape that bonds to one fabric panel in a flat coupon may behave differently where the upper bends or where several layers meet.
Ask for the supplier’s technical data sheet and the limits of its recommendation. A data sheet is a starting point for sampling, not a substitute for validation on the intended footwear. If a standard test method is proposed for hydrostatic resistance or peel, confirm that its scope matches the actual specimen and decision you need to make.
Control the bonding process
Bonding commonly depends on a combination of temperature, pressure, dwell time, machine calibration, tape feed, alignment and operator technique. The correct settings are specific to the tape and substrate. Agree a trial window with the supplier and upper factory, then record the settings used to create the approved sample. Do not copy settings from a different material combination without checking the effect.
Before application, control surface condition. The bonding area should be free of dust, oil, release agents and loose fibers. Confirm whether the upper needs pre-treatment and ensure that any such treatment is compatible with the material and production line. Check the condition and width of the seam, tape overlap and alignment, and avoid stretching the tape or substrate in a way that creates residual stress.
After bonding, allow the assembly to condition as directed by the material supplier before evaluating it. Inspect for edge lift, bubbles, wrinkles, adhesive squeeze-out, uneven width, discoloration and damage to the upper. Define the rework rule: some cosmetic issues can be corrected, while repeated reheating may degrade the material or create a different bond.
Record the machine, settings, tape lot, upper lot, operator, date and inspection result for development samples. During production, verify that the validated setup is maintained and that line changes trigger a review.
Validate the finished assembly
Build a representative sample with production-intent uppers, seam geometry, tape, stitch and bonding process. Include different material lots or sizes if they meaningfully change the construction. A coupon can help compare candidates, but it does not reproduce every curved or multi-layer detail of a shoe.
Choose test methods with the footwear brand or laboratory. Depending on the product requirement, the plan may include seam water resistance, peel or adhesion checks, flexing, abrasion, laundering or conditioning. Define the specimen, method edition, equipment, pressure or loading, duration, preconditioning, inspection intervals and acceptance criteria. Avoid publishing a numeric hydrostatic or cycle threshold unless it comes from an agreed test specification and a traceable report for the specific construction.
Evaluate both the water barrier and the physical condition of the seam. Record where water first appears, whether leakage occurs through stitch holes, tape edges or another panel joint, and whether the upper shows delamination or distortion. For footwear claims, have the brand’s testing owner determine whether a finished-shoe test is required in addition to material or seam-level checks.
When a sample does not meet the target, investigate the failure path rather than changing tape thickness alone. Review substrate compatibility, seam width, needle size, stitch spacing, overlap, surface preparation, machine settings and conditioning. Make one controlled change at a time and retain the revised sample and report under a new revision.
Prepare a technical RFQ
Send the supplier the footwear style, upper composition, membrane or coating details, seam drawings, target color, location and performance requirement. Include actual sample panels where possible, and identify whether they represent production material. State the target market and intended use conditions, and name the internal team responsible for acceptance.
Ask for a written proposal that identifies the tape construction, width, thickness, bonding side, compatible substrates, supplier-recommended application window and known limitations. Request a sample plan that covers the actual seam. Specify what the supplier will provide: technical data, test method, sample IDs, process settings, report, and any statement about the scope of the result.
In the purchase specification, freeze the approved tape, upper, seam, process parameters and acceptance criteria. Require review when any of those inputs change. Confirm order quantities, sample charges, production timing and shipping only for the selected item and current quotation.
- Upper layers, membrane/coating and production sample panels
- Seam drawing, stitch details, curved zones and tape location
- Target claim and buyer-defined acceptance criteria
- Candidate tape construction, dimensions and bonding-side information
- Application settings and production-process controls
- Representative sample and test report scope
Buyer questions
Does seam tape alone make a shoe waterproof?
No. Water resistance depends on the complete footwear construction, including materials, seams, openings, assembly and validation.
Can I use the tape supplier’s data sheet as proof for my shoe?
Use it to select a candidate. Validate the tape on representative upper materials and the finished assembly relevant to the claim.
Which bonding temperature should be used?
Use the supplier’s guidance as a starting point and confirm a process window on the actual tape and substrate; record the approved setup.
Can a hydrostatic test on a fabric coupon prove the finished shoe?
Not by itself. The test object and method must match the decision. Finished-footwear claims may require assembly-level evaluation.
Need an item-specific review?
Send the product family, drawing or reference, intended application, target market and required evidence. Availability, specifications, samples, pricing and timing are confirmed for the selected project.
Send an RFQ for this guide’s product family →